Showing posts with label be creative. Show all posts

24 January 2013

DIY hiding place

one day last week, I decided to get a little crafty. oh dear.

I was thinking back to my childhood and my sister + I dreaming of houses with secret passageways, bookcases that swung wide into hidden rooms, and hiding places made out of everyday items. and I got to thinking, "how difficult could it be to make one of these a reality?" 

yes, I know. I must have better things to think about. you'd think, wouldn't you?

obviously I can't put holes in the walls of our rental home to include secret doors.

so I hollowed out a book. yes, seriously.


hollow book

you just need a few little things -- most of which you probably already have:
  • a book [one you don't intend to read again, of course]
  • box cutter/x-acto knife
  • white glue + water
  • paint brush
  • pencil + straight edge

I decided to get fancy + cover my book first. I had a plan for this puppy + wanted it to look nice. I didn't necessarily care about this being a good place to hide secret things as much as I wanted just a hollowed-out book. I bought some simple little swatches of fabric and just used some of white glue to adhere it to the book.

then it was time to get to work. I mixed the glue with some water [roughly 70% glue + 30% water -- I certainly didn't measure anything] and then held the book's pages + back cover [not the front cover!] together while I used the foam paint brush to apply a decent amount of glue around the outside edges of the pages. I closed the book fully [with a sheet protector in between the cover + glued pages so they wouldn't stick together -- you could also use a large ziploc bag] + put it under a stack of heavy books to dry for 30-60 minutes or so.


once it was dry, the fun began. I measured out a margin onto the first page + began cutting. it was kind of a tedious process, making sure the lines were straight all the way down. there were little pieces of paper EVERYWHERE by the time I was finished.


once the pages were out + the edges were cleared of all the excess paper fuzz, I brushed a thick layer of the glue + water solution onto the inside "walls" of the hole as well as a second coat around the outside. I let it soak in for a minute or two before closing the book up [with the plastic sheet protector between the pages again] + setting it to dry for another hour or so.

the inside was still a little bit damp when I opened it up again because it had been closed, but after being open for just a few minutes, it was dry enough to add the finishing touches.

I got fancy again + added a totally unnecessary bottom to the hole


and a strap around the outside


I still need to run out and pick up some magnets so I can fasten it closed, but for all intents + purposes, it is ready to go.

and speaking of intent + purpose, this was the plan I had in mind for my hollow book from the beginning :)

hollow book ipad mini case


2 June 2012

the nursery


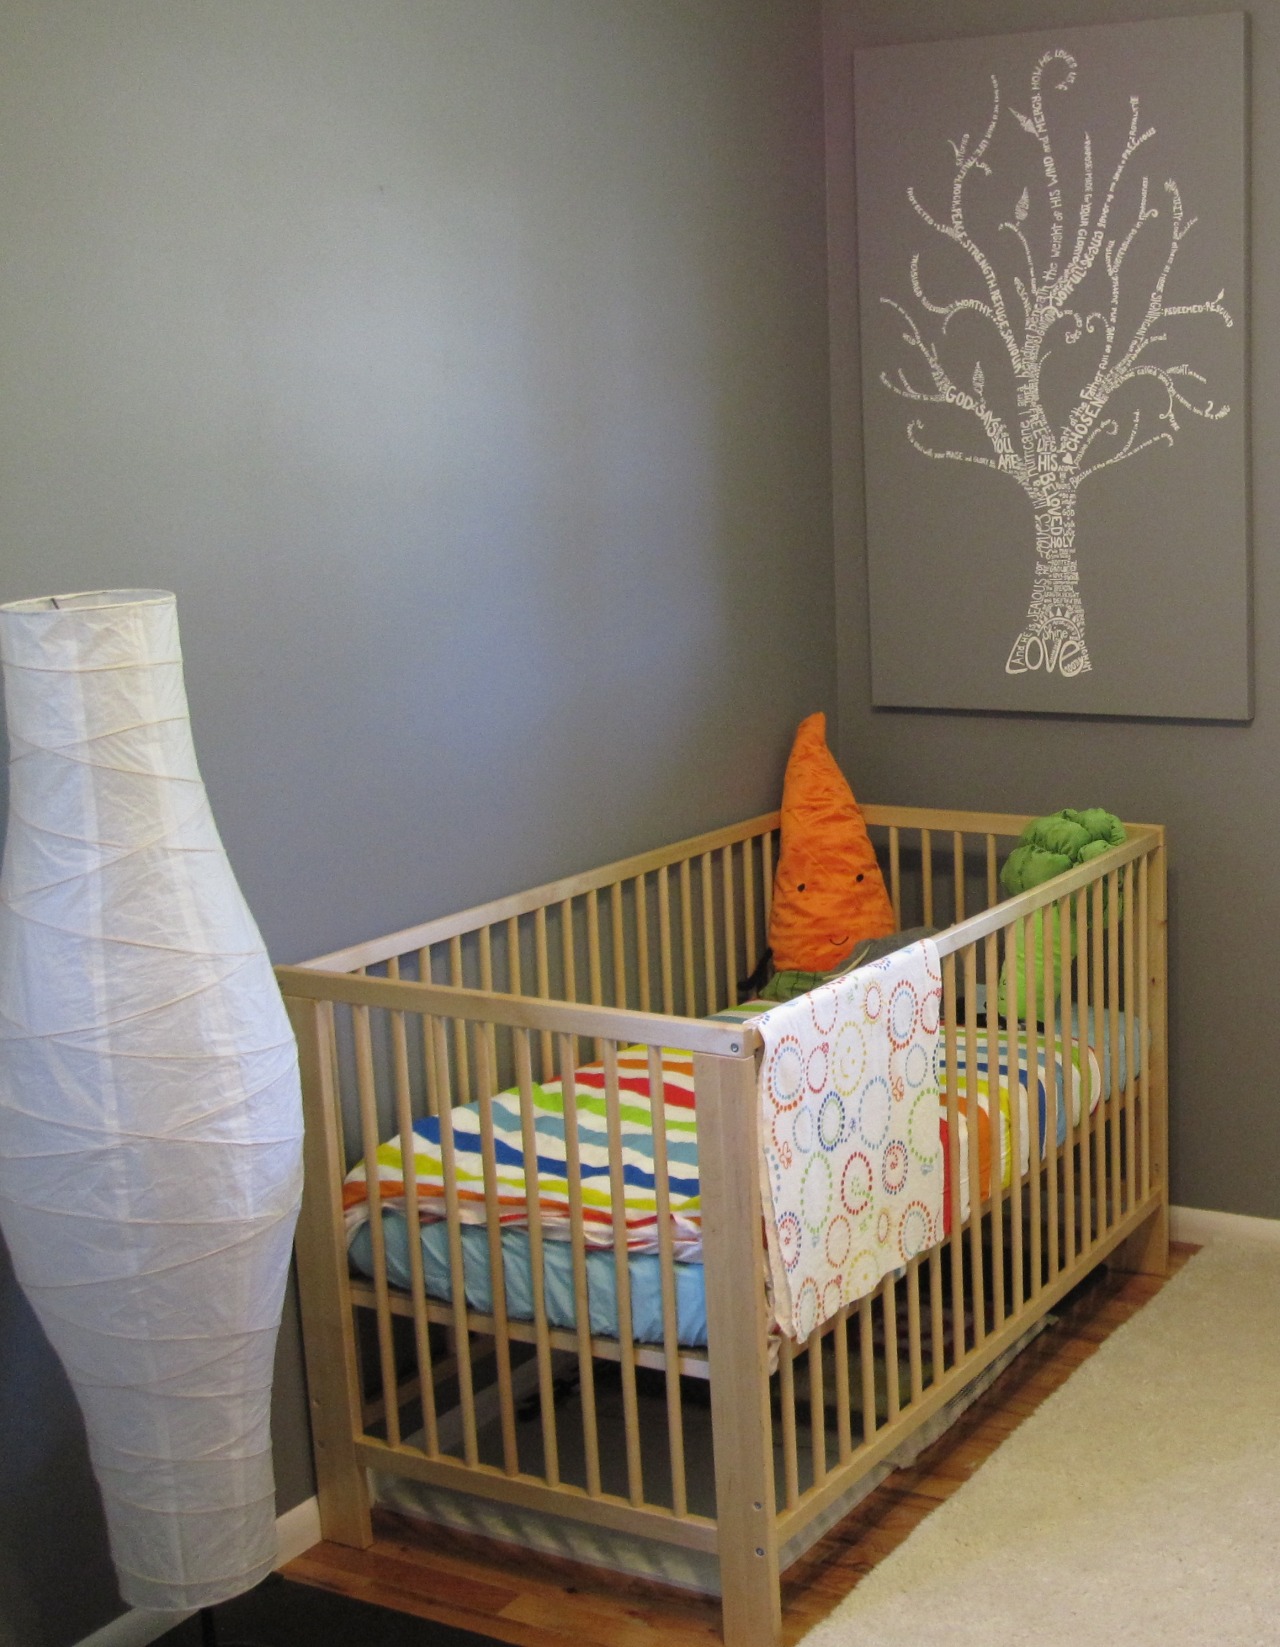
I was fortunate enough to be able to take a weekend trip to Boston + Providence with my parents + brother a few weeks ago, and while we were there we hit up IKEA to pick up some nursery essentials.


Joey trusted me in the store by myself, without him there to hold me back from spending a small fortune. No worries, however -- I ended up spending less than half of what we had budgeted + still filled my parents' van with stuff!


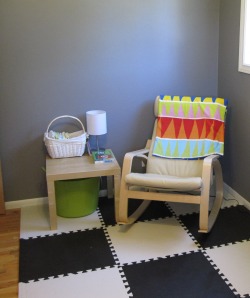
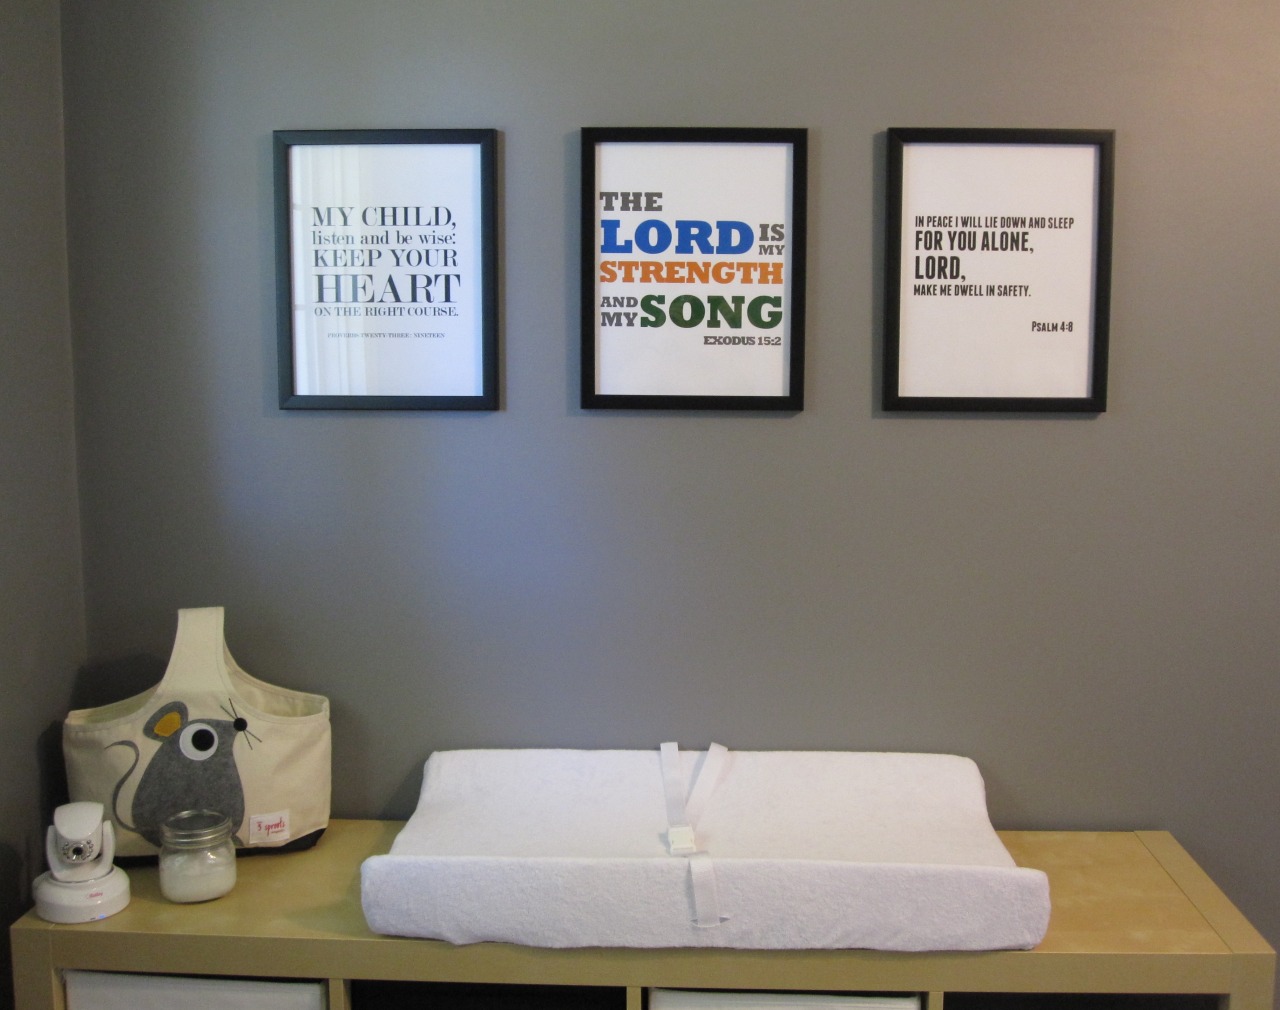
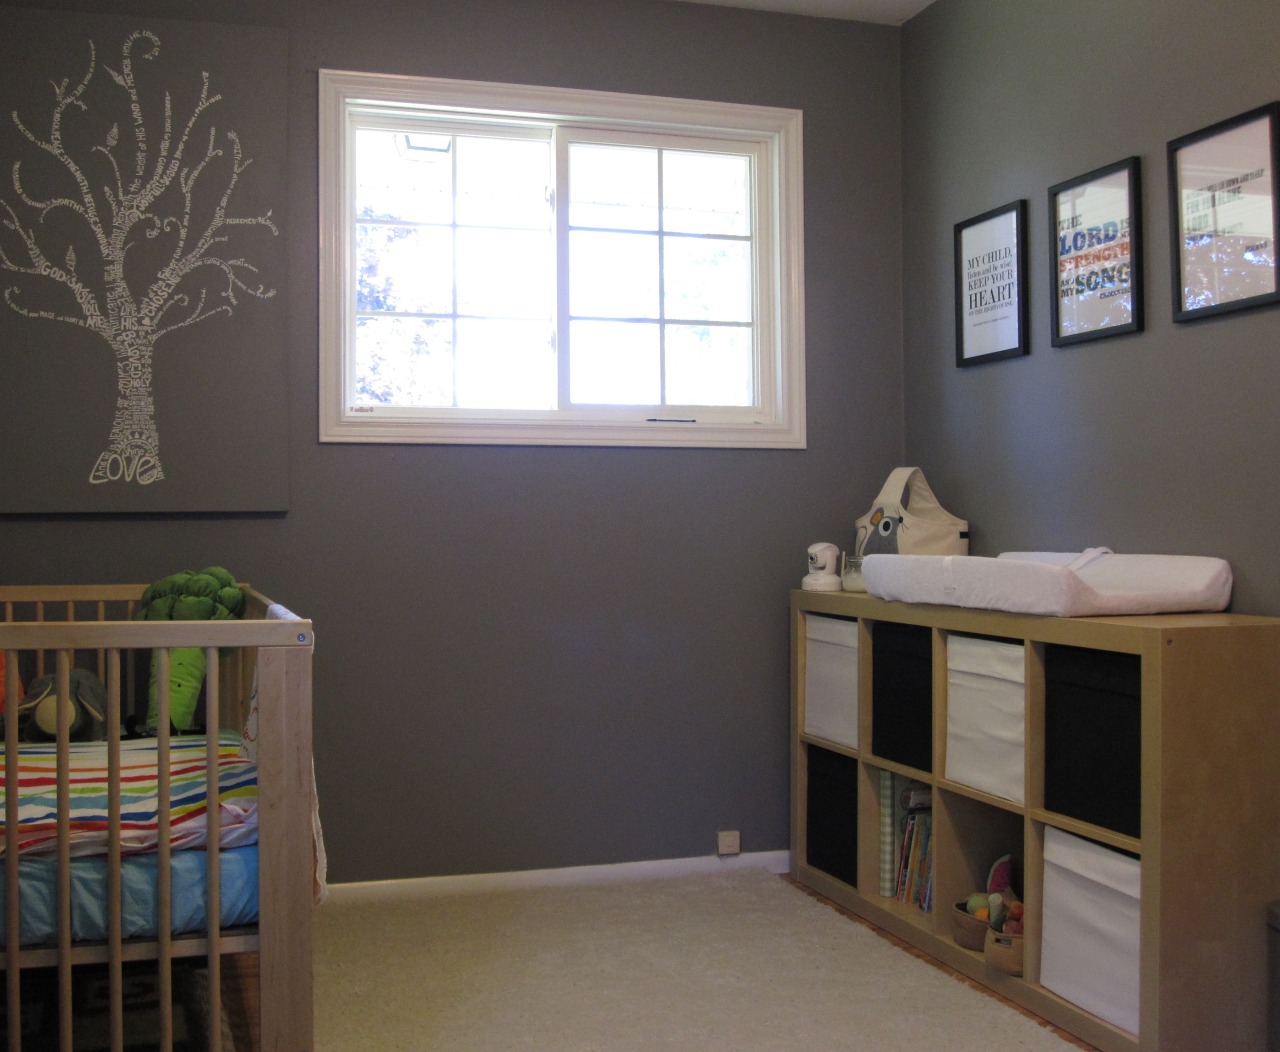
The IKEA loot included furniture [crib + mattress, bookcase [to be used as changing table + dresser/storage], rocking chair, side table], storage boxes [for the bookcase], bedding, and a few toys. When we added that to the things we either already owned [the cozy white rug given to us by my parents, who no longer had use for it] or purchased elsewhere [black + white puzzle mats, changing table topper, table + floor lamps, etc.] the nursery was born!


We were able to spend very little not only at IKEA but also on the nursery in general because my parents were super gracious in buying our crib + accessories as a shower gift, as well as the rocking chair as a Christmas gift this past December.


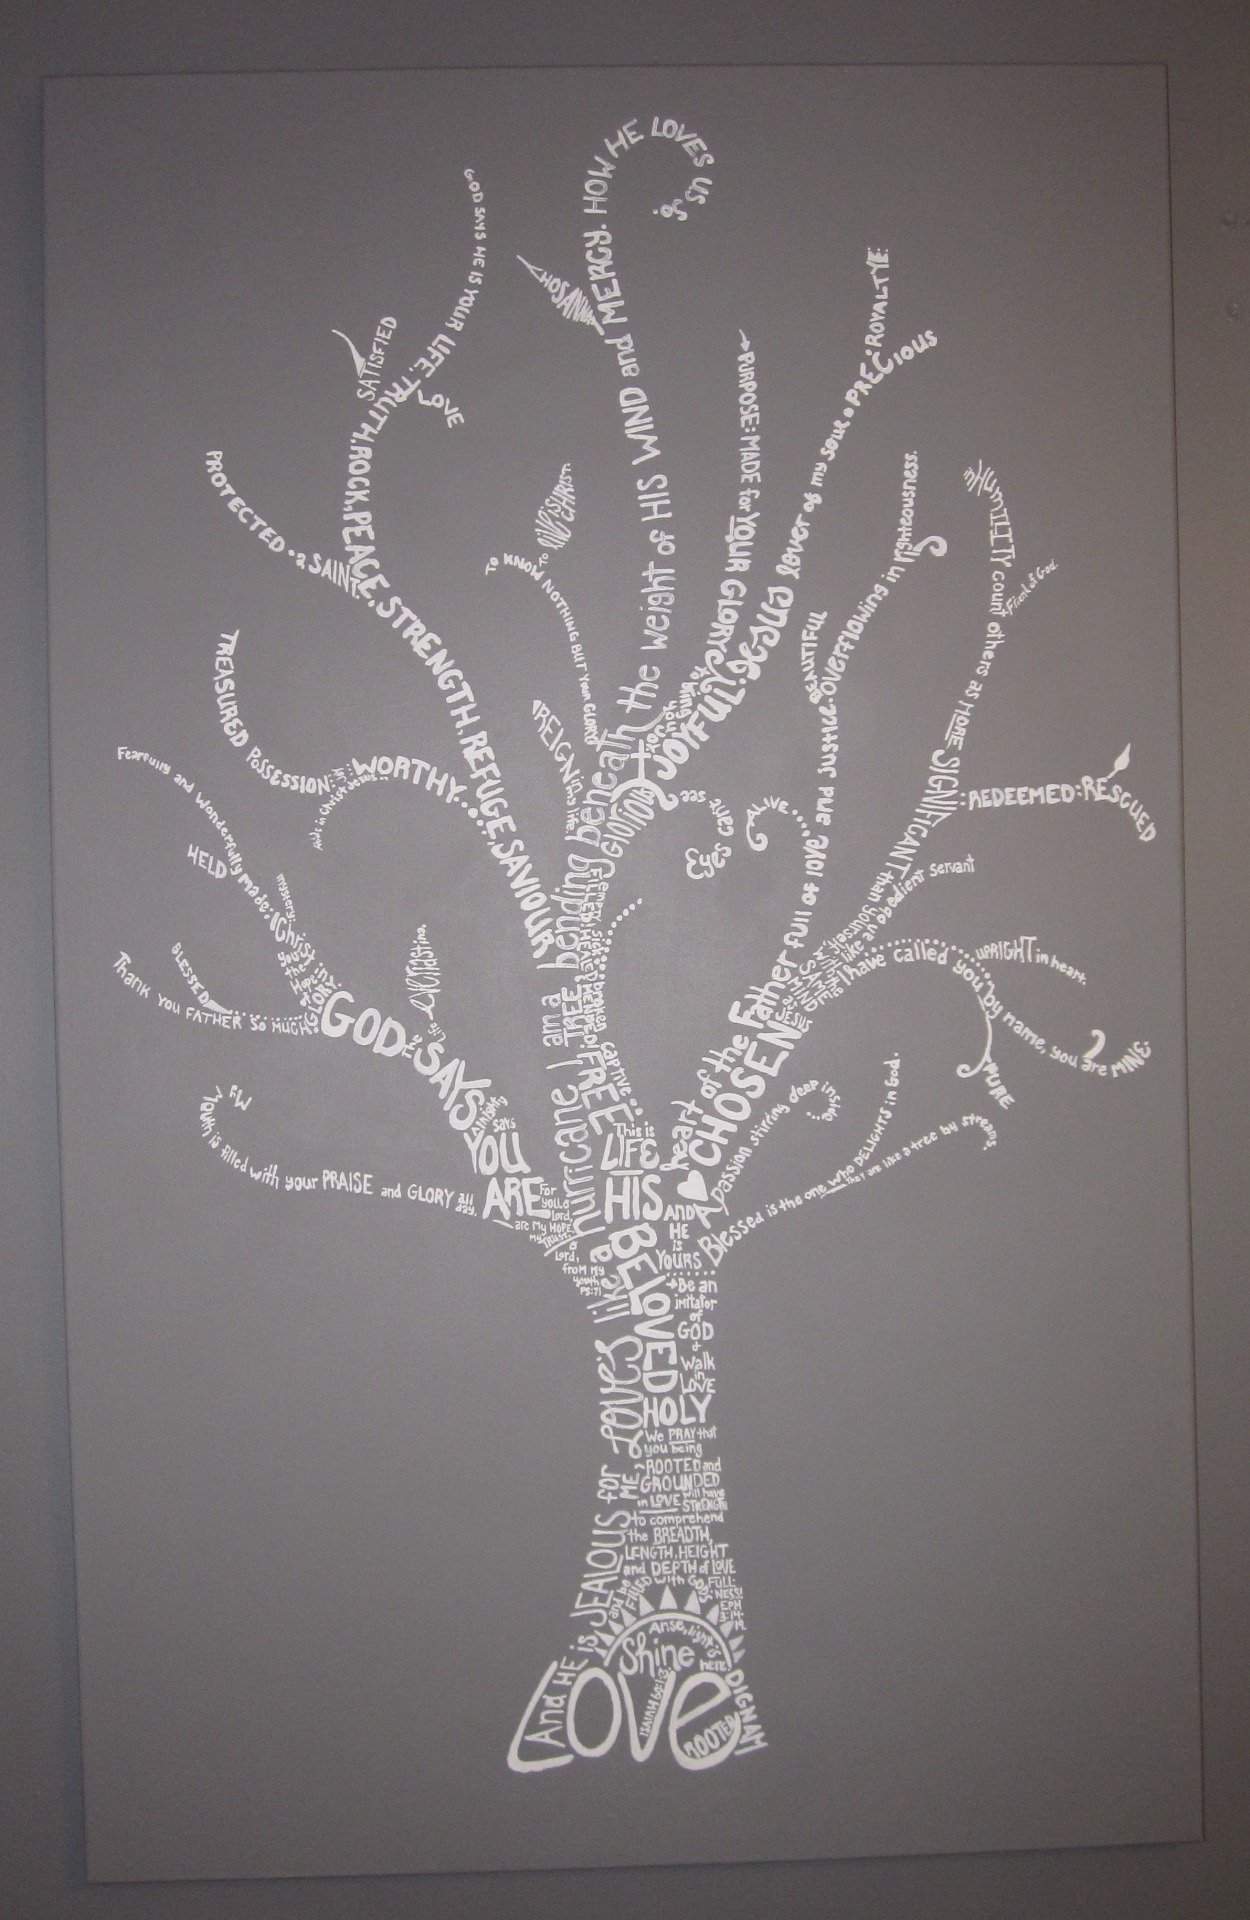
We are also blessed with extremely talented friends, and when we approached our friend Jill about painting a canvas for our little one's room, she couldn't wait to get started. We bought a nice big canvas and gave her the extra paint we used on the walls, and she got to work. The finished product was more than we ever could have imagined, and I often find myself getting lost in the swirling letters, discovering new things all the time.


Everything included, right down to the cost of the paint we put on the walls [in a lovely shade of grey, of course!], we spent a mere $400 to outfit our baby's first bedroom!

18 October 2011

Vegan Zucchini [No Chocolate Chip] Bread


I am not a baker. I much prefer to cook and experiment with different flavours, adding ingredients and spices as I go to take a meal from good to holycrapgreat.

wpid-photo3-2011-10-18-16-20.jpg

Every once in awhile, however, usually prodded by someone else, I whip out the baking supplies and get down and dirty with the chemistry of baking. This time, Tiffany was the prod. We met in her kitchen yesterday afternoon to put to use the enormous zucchini she had bought at a market over Thanksgiving. Our goal: vegan zucchini bread. Preferably with chocolate chips.

There were a few recipes I had seen online, and we ended up using this zucchini bread recipe with some minor changes.

Ingredients:

  • 3 tbsp ground flax, whisked into 9 tbsp warm water
  • 2½ cups zucchini, grated
  • ½ cup oil
  • ½ cup applesauce
  • 2 cups brown sugar
  • 1 tsp vanilla
  • 3 cups flour
  • 1 tsp salt
  • 1 tbsp baking soda
  • 1 tsp baking powder
  • 1 tbsp cinnamon
  • 1 tsp ginger
  • 1 tsp allspice
  • ~ 1 cup chocolate chips


wpid-photo1-2011-10-18-16-20.jpg

Begin by whisking together ground flax and water in a small bowl, and let sit for a few minutes. Add zucchini, oil, applesauce, sugar, and vanilla to a mixing bowl, as well as the flax “eggs”. Mix thoroughly. Tasting is optional.

wpid-photo2-2011-10-18-16-20.jpg

In a separate bowl, add flour, salt, baking soda, baking powder, cinnamon, ginger, and allspice. I don’t think we really measured the spices, we just threw them in. Tiffany didn’t have the nutmeg the recipe called for, so we figured we would add a bit extra cinnamon to even it out. That or we just like cinnamon.

Add the wet ingredients to the dry and mix until everything is moist. You don’t want to go crazy with the mixing here or the bread will be too tough. Everyone likes soft bread.

Pour the batter into two greased loaf pans [or muffin pans] and bake at 350℉ for 45-50 minutes. We found at the twenty-minutes-to-go mark that the loaves were browning quickly, and so I turned the temperature down to about 300℉ for the last twenty minutes. Just use your judgement and know your oven!

wpid-photo4-2011-10-18-16-20.jpg

We had planned on putting chocolate chips in the batter at the end, but forgot all about them until the batter was already in the loaf pans. Tiffany didn’t have many chocolate chips on hand anyway [only about ½ cup], so we decided to just sprinkle a few on top of each loaf. It was a great little addition without making the bread too sweet throughout!

wpid-photo5-2011-10-18-16-20.jpg

I had a slice for breakfast this morning with some vegan butter on it and it was divine. I’m going to have to freeze the other half of my loaf so I don’t eat it all today!

Blogging tips